 | |
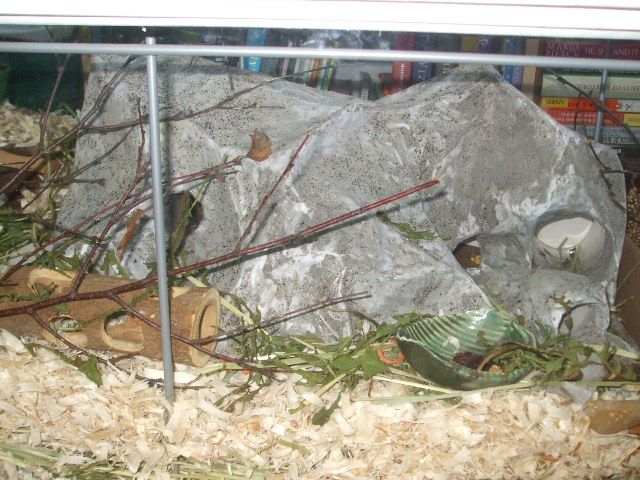
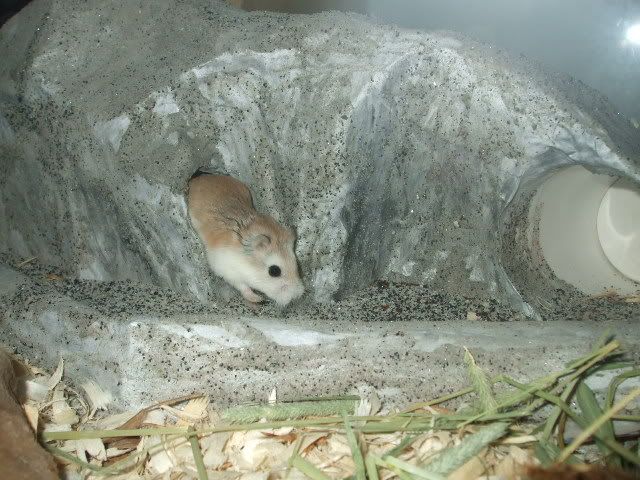
| An example of a papier mache playground inside of a cage. |
Tape (optional)
1 Cardboard sheet
Assorted Small cardboard boxes
Assorted Toilet paper tubes
Several Newspapers (be sure ink is soy/vegetable based)
Blank white printing paper (optional)
Paint (optional) (be sure it is nontoxic)
1-2 cups of sand (playground sand, chinchilla sand or calcium carbonate sand)
1 cup of Baking Flour
1/4 teaspoon of Salt
3 cups of water
1. The first step is to get a base for you playground. If it is going into a cage than be sure to measure everything out first, or you may end up with a playground that doesn't fit!

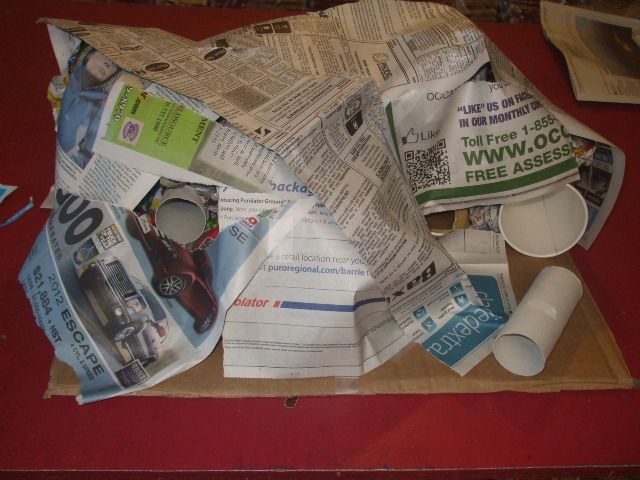
2. Take your assorted cardboard materials and toilet paper tubes and arrange them on your base.

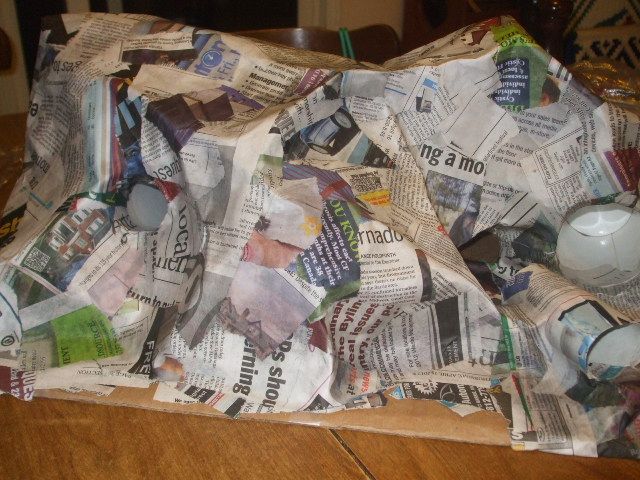
3. Begin to fill in the empty spaces between and around your base structures with newspaper balls and rolls.

Once complete it should begin to take a basic shape. Remember this is meant to be creative so make it as big as you want and use your imagination:

4. Cover this with a couple of sheets of newspapers to hold everything in place for when you start the actual papier macheing part. You can tape the pieces down if necessary, I usually removed the tape once I started papier macheing.
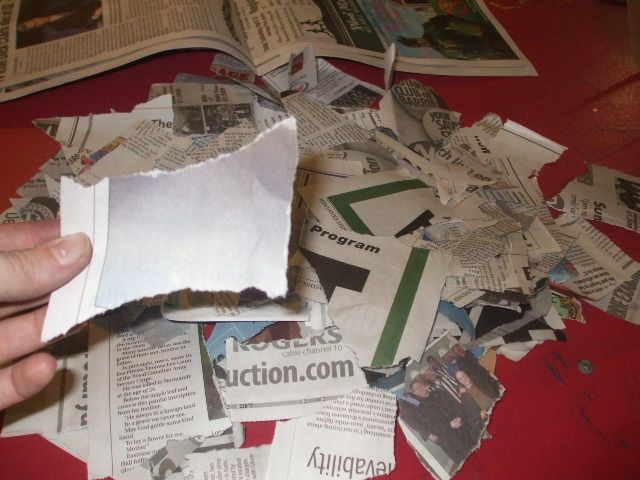
5. Rip up all of your sheets of newspaper. You can cut them, but ripping them helps them stay down better as the edges are ragged and hold down better.
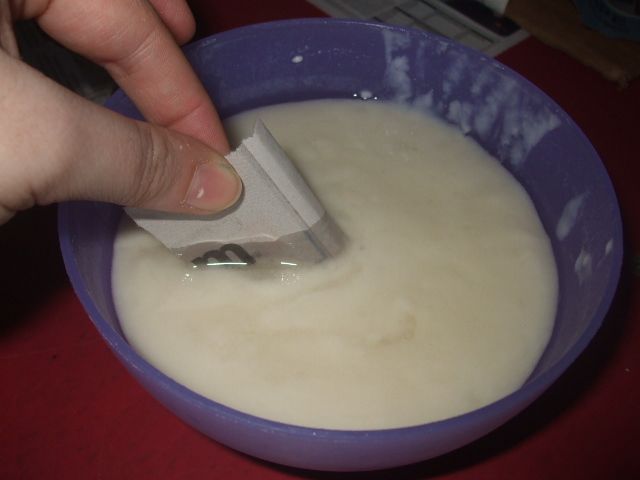
6. Now is time to make the paste. Take the flour and mix it with one cup of the water in a bowl add the salt in now too. The salt will help prevent mold from forming. In a separate sauce pan boil the remaining two cups of water. Once it is boiled add the water to the flour-water mix and stir. Than add all of the mix back into the saucepan and heat on medium high for 1-2 minutes until the paste has thickened. Let it cool before starting as it will be hot. When ready just dip a piece of newspaper into the paste, strain off the excess and begin to paste it onto the playground.

7. I recommend at least three layers of newspaper. Be sure to let each layer dry before moving on to the next one. The thicker you go the stronger it will be.
8. The last layer (or two) I would use blank printing paper so that the newspaper does not show through afterward.

9. Now after your last layer is dry you can do something to add a little extra. This is optional, but using nontoxic acrylic paint to add some colour to the piece really does help to make it look better.
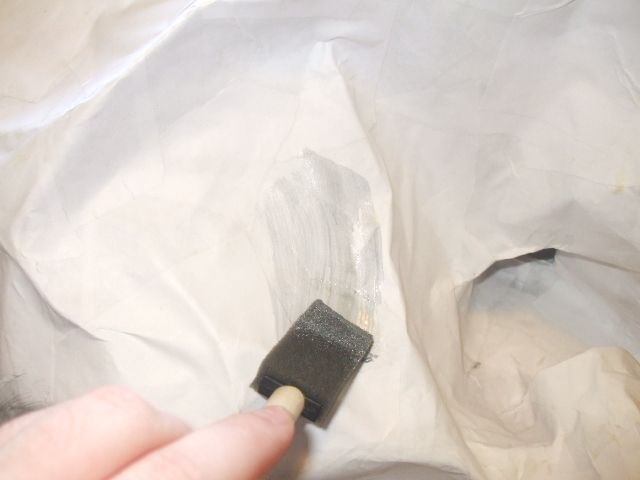
10. Once the paint is dry (or your last layer is dry) take your paste out again and begin to cover your piece with it in an even coat. I use a paintbrush sometimes, but using your hands it a lot quicker.
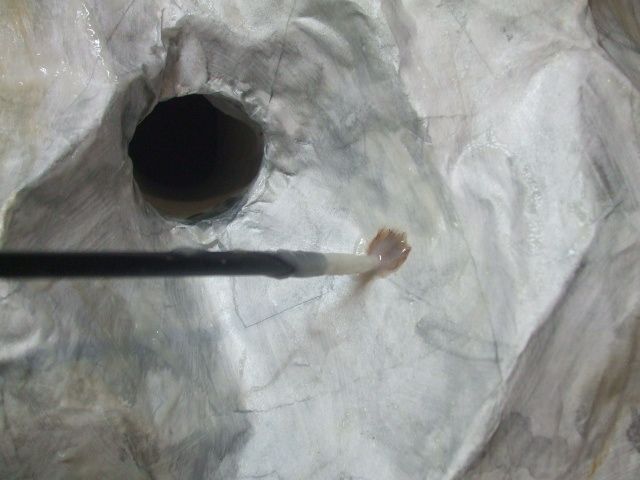
11. Take your piece and put it on top off a plastic bag, because this will get messy. With your piece still wet from that layer of paste you painted on, pour the sand over it. Ensure that the sand is coating everything.

12. Let your masterpiece dry and than add it to your hamster's home or put it in their playpen. Either way your hamster will have a blast!
**Caution**
Some people have mentioned that they had mold issues with this, I have yet to have any such issues. Adding salt to the paste mix can help prevent this though.
I'll pay you to make one for me! haha, just kidding. :D
ReplyDeleteWow, this is amazing! :-) I love your ideas.
ReplyDelete